Starlink Roof Mount Installation: Secure, Weather-Proof Mounting in the UAE
Starlink roof mount installation is the part of a Starlink setup most people underestimate. Plugging in the router takes minutes. Choosing a point on the roof with a clear view of the sky, fixing the dish so it never moves in a shamal wind, running the cable without damaging it and sealing the entry so dust and water stay out takes skill, the right hardware and safe access. Get it wrong and you get dropouts, a dish that tilts after a storm or a leak in the ceiling.
We carry out Starlink roof mount installation for villas, townhouses, farm houses, warehouses, labour camps and commercial buildings across Dubai, Abu Dhabi and the rest of the UAE. Professional Starlink installation starts from AED 699 including VAT. You buy the Starlink kit and subscription directly from Starlink; we supply the right mount for your roof and do the installation.
Why Starlink Roof Mount Installation Matters
Starlink needs a wide, clear view of the sky. Anything between the dish and the sky – a parapet wall, water tank, satellite dish, palm tree or the building next door – causes short interruptions that you notice as frozen video calls and buffering. The roof is usually the highest, clearest point on a property, so a roof mount gives the best and most stable connection.
But a roof also has the harshest conditions. In the UAE the dish and cable face:
- Strong wind during shamal and summer storms.
- Extreme heat on roof surfaces in summer.
- Dust and sand that gets into loose cable entries.
- Occasional heavy rain that finds any unsealed hole.
- UV sunlight that cracks unprotected cable and plastic over time.
A professional Starlink roof mount installation is designed around all of these.
Starlink Roof Mount Installation Options
There is no single best mount. We choose based on the roof type, the obstructions around it and whether drilling is allowed.
| Mount type | Best for | Notes |
|---|---|---|
| Parapet wall mount | Villas with a roof parapet | Neat, strong, keeps the dish above most obstructions |
| Pole mount on wall or parapet | Roofs with tanks, AC units or trees nearby | Raises the dish higher for a clearer view |
| Flat-roof fixed base | Concrete flat roofs where drilling is allowed | Very stable, bolted to the slab or upstand |
| Non-penetrating weighted mount | Roofs with waterproofing that must not be drilled | Uses ballast instead of bolts; must be heavy enough for wind |
| Pitched roof mount | Sloped roofs and pergolas | Angled bracket fixed to the structure |
| Warehouse roof or wall bracket | Industrial sheds and metal roofs | Fixed to steel structure or wall, not to thin roof sheets |
Our Starlink Roof Mount Installation Process
- Roof survey. We check access, roof type, waterproofing, parapets, tanks and AC units, and look at trees and buildings around you.
- Sky view test. Using the Starlink app’s obstruction check, we test the candidate positions and pick the clearest one.
- Mount choice. We select a wall, pole, base or weighted mount that suits the structure and any building rules.
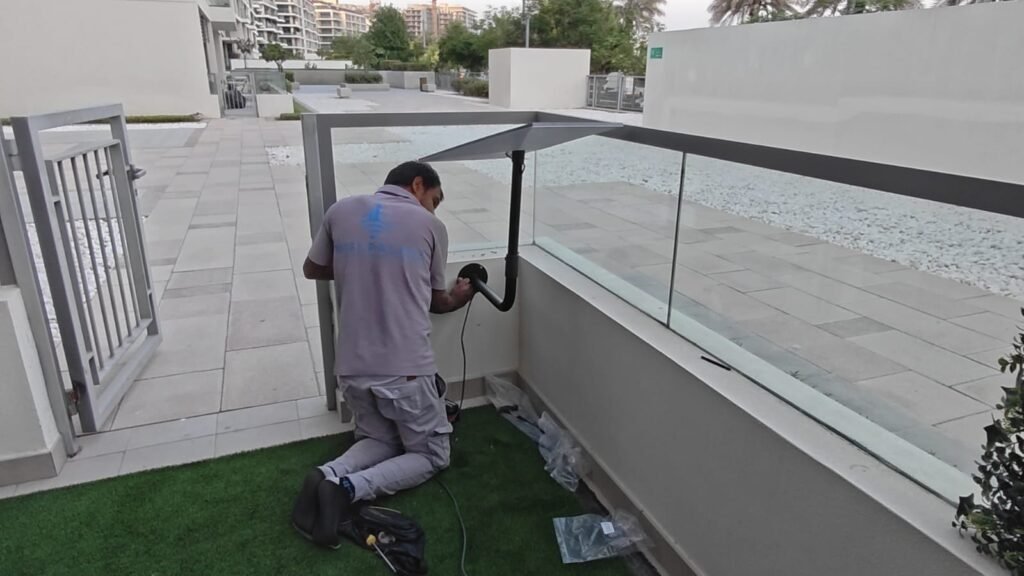
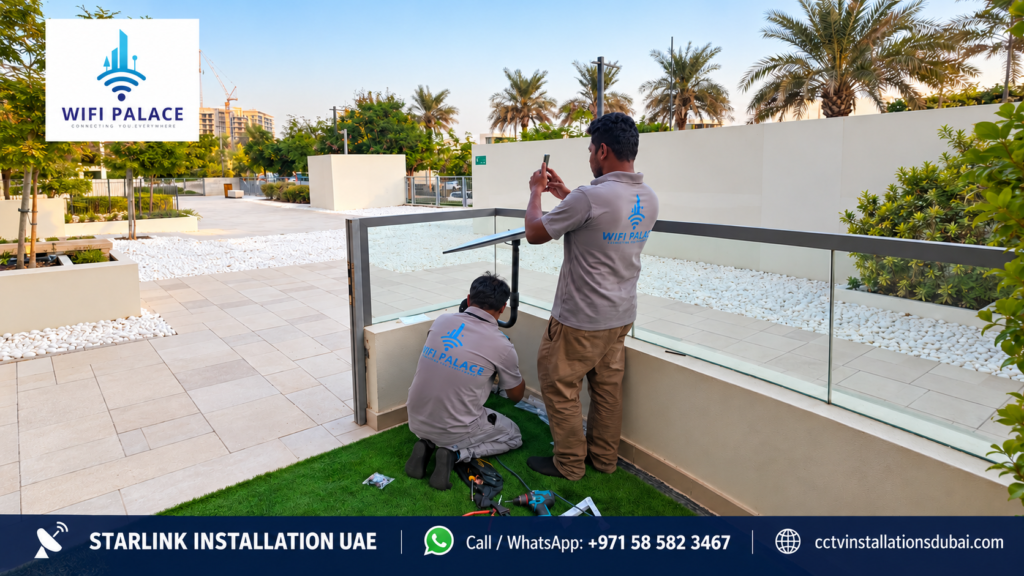
- Fixing. We drill and anchor into solid concrete or block, or place a correctly weighted base. Fixings are stainless or corrosion-resistant.
- Levelling and alignment. The dish is set level and secure; Starlink then positions itself automatically.
- Cable routing. The cable is clipped neatly along walls and parapets, kept away from sharp edges and protected in conduit where it crosses the roof.
- Sealed entry. Where the cable enters the building we use a sealed gland or weather-proof entry so dust and water cannot get in.
- Router and testing. We position the router indoors, activate the kit with you and test speed and stability.
Starlink Roof Mount Installation for Villas
Villas in Dubai and Abu Dhabi usually have flat concrete roofs with a parapet, water tanks and split AC units. The parapet is often the best fixing point: solid, high and easy to route cable along. Where tanks or palm trees block part of the sky, we use a pole on the parapet to lift the dish above them. In gated communities with strict rules about what can be seen from the street, we choose a position that is hidden from the front while still having a clear view of the sky.
Starlink Roof Mount Installation for Apartments and Towers
In apartment buildings the roof belongs to the building, not to you. A Starlink roof mount installation on a tower roof needs written permission from building management or the owners’ association. We can provide the technical details they usually ask for: mount type, fixing method, weight and cable route. If roof access is not allowed, a balcony mount may work for high floors with an open view, but lower floors surrounded by other towers often have too many obstructions.
Starlink Roof Mount Installation for Warehouses and Commercial Buildings
Warehouses and sheds often have thin metal roof sheets that are not strong enough to hold a mount and can leak if drilled. We fix the mount to the steel structure, a parapet or the building wall instead. Long cable runs to an office inside the warehouse are common, so we plan the route and, if needed, a network extension. For offices that use Starlink as a backup line, we connect it to a failover router.
Starlink Roof Mount Installation for Farms and Remote Buildings
Farm houses and remote buildings often have low roofs surrounded by trees. Sometimes the best position is not on the house at all but on a pole in an open area nearby. We compare both options and choose the one with the clearest sky view, then run the cable or a network link back to the house. See our Starlink farm installation page.
Waterproofing and Roof Protection
Many UAE roofs have a waterproofing membrane under tiles or screed. Drilling through it in the wrong place can cause a leak months later. To protect your roof we:
- Fix to parapets and walls rather than the roof surface where possible.
- Use non-penetrating weighted mounts when the roof must not be drilled.
- Seal every fixing and cable entry with suitable outdoor sealant.
- Avoid running cable across walkways and drainage paths.
Wind Safety
A loose dish can tilt, rotate or in the worst case fall from the roof. A correct Starlink roof mount installation is designed so the dish stays put in strong wind:
- Fixings go into solid concrete or block, not plaster or tiles.
- Poles are sized and braced so they do not sway.
- Weighted mounts carry enough ballast for the exposure of your roof.
- The cable is secured so wind cannot pull on the connector.
Cable and Router Placement
The cable is often longer than people expect, because the best roof position may be far from the room where the router goes. The cable that comes with the kit may be enough for a small house; larger villas, farms and warehouses may need a longer official cable or a network extension. The router should be indoors, in a cool, central location. If one router cannot cover the whole property, we add mesh WiFi or access points; see Starlink WiFi network integration.
Starlink Roof Mount Installation Price
Our Starlink installation starts from AED 699 including VAT. The final price for a Starlink roof mount installation depends on:
| Factor | Effect on price |
|---|---|
| Mount type | Simple wall brackets cost less than poles or weighted bases |
| Roof access | Easy stair access vs ladders or special access |
| Cable length | Longer runs need extra cable, conduit or a network extension |
| Building type | Warehouses and towers may need extra fixing work |
| WiFi coverage | Mesh or access points are quoted separately |
The Starlink kit and subscription are bought directly from Starlink. Payment for our work is 50% advance and 50% on completion by cash, bank transfer, card, payment link or cheque, with a 1-year workmanship warranty. See the full Starlink installation cost UAE guide.
Common Roof Mount Mistakes We Fix
- Dish placed on the roof floor behind a parapet, blocking half the sky.
- Mount screwed into tiles or plaster that cracks and loosens.
- Cable passed through a window or door that pinches it every day.
- Unsealed holes that let in dust and rain.
- Pole too thin, so the dish moves in wind.
- Router left on the roof or in a hot store room.
Check Your Roof Before the Visit
You can do a quick check yourself before booking a Starlink roof mount installation. It helps us bring the right mount and cable on the first visit:
- Open the Starlink app and choose the obstruction check.
- Stand on the roof at the spot you think is best and hold your phone up as the app asks.
- Scan the sky slowly. The app shows clear and blocked areas.
- Repeat at two or three other spots, for example a parapet corner or above the stair room.
- Take screenshots of the results and photos of each spot, and send them to us on WhatsApp.
If every spot shows obstructions, a pole mount to lift the dish higher is usually the answer.
Roof, Balcony or Ground: Which Is Best?
| Position | Advantages | Disadvantages |
|---|---|---|
| Roof | Highest point, clearest sky view, out of reach | Needs access, fixing and cable route through the building |
| Balcony | Easy access in apartments | Building and neighbouring towers often block the sky; may need permission |
| Ground pole | Flexible position on farms and large plots | Longer cable; trees can still block; needs protection from people and animals |
| Wall high on the building | Good compromise when roof access is limited | One side of the sky is blocked by the building itself |
For most UAE villas, a Starlink roof mount installation on the parapet or a short pole gives the best result.
Working Safely at Height
Roofs are dangerous, especially in summer heat and wind. Our team follows simple rules on every Starlink roof mount installation:
- We work in pairs on roofs and never alone near an unprotected edge.
- We use proper ladders and access, not chairs or water tanks.
- We avoid working on roofs during strong wind or extreme midday heat when possible.
- Tools and fixings are kept secured so nothing falls to the ground below.
We recommend that homeowners do not climb onto roofs or parapets to adjust the dish themselves. If something moves, call us.
Looking After a Roof-Mounted Starlink
Once a Starlink dish is mounted correctly, it needs very little attention. A few simple checks keep it working well:
- After storms, check in the app that the connection is normal. If you see new obstructions or dropouts, the dish may have been knocked.
- Every few months, look at the cable from inside for any damage or loose clips.
- If trees grow or a neighbour builds a new floor, run the obstruction check again; the dish may need to move.
- Do not paint or cover the dish, and do not put anything on top of it.
Starlink and CCTV on the Same Roof
Many customers who book a Starlink roof mount installation also want cameras on the roof, gate or garden, especially on farms and remote properties. Because we install both, we can plan one cable route, one network and one power setup for Starlink and CCTV together, and set up remote viewing so you can watch the cameras over Starlink from anywhere. See our CCTV installation Dubai page or CCTV installation Abu Dhabi for camera options.
Why Choose Us for Starlink Roof Mount Installation
- The right mount for your roof, not one bracket for every job.
- Solid fixings, sealed entries and protected cable.
- Clear pricing from AED 699 including VAT.
- WiFi throughout the property, not just next to the router.
- CCTV and networking from the same team.
- 1-year workmanship warranty.
Starlink Roof Mount Installation: FAQs
Can I mount Starlink on the ground instead of the roof?
Yes, if the ground position has a clear view of the sky. On most villas the roof is clearer, but on farms a ground pole is often better.
Will drilling damage my roof?
We fix to parapets and walls where possible, seal every fixing and use non-penetrating mounts when the roof must not be drilled.
Do I need permission?
For villas you own, usually not, but some communities have rules about rooftop equipment. For apartments and towers you need building management approval.
How long does a roof mount installation take?
A standard villa roof mount usually takes a few hours. Poles, long cable runs and mesh WiFi take longer.
Can you move my existing Starlink dish to a better position?
Yes. We relocate dishes that suffer from obstructions and remount them securely.
Will the dish get too hot on a UAE roof?
The Starlink dish is built for outdoor use and manages its own temperature. The router and power supply are the parts that suffer in heat, so we always place them indoors or in a shaded, ventilated spot.
Can a roof-mounted dish be stolen?
On villa roofs the risk is low because the roof is private and hard to reach. On sites and farms we use secure fixings and can add a camera that covers the dish.
What if my building management refuses roof access?
We can look at a high wall or balcony position instead, or help you prepare a short technical note for building management explaining the mount, fixing and cable route for your Starlink roof mount installation.
Do you cover the whole UAE?
Yes. See Starlink installation Dubai, Starlink installation Abu Dhabi and Starlink installation UAE.
Starlink Roof Mount Installation Across the UAE
We carry out Starlink roof mount installation across the country. These are the areas and property types we see most:
| Emirate | Common jobs |
|---|---|
| Dubai | Villas in Al Barsha, Jumeirah, Arabian Ranches, Dubai Hills, Al Furjan and Damac Hills; warehouses in Al Quoz and DIP |
| Abu Dhabi | Villas in Khalifa City, MBZ, Al Raha, Yas and Saadiyat; farms in Al Wathba and Al Ain |
| Sharjah and Ajman | Villas and commercial buildings |
| Ras Al Khaimah and Fujairah | Mountain homes, farms and holiday houses |
| Remote areas | Desert camps, farms and site offices, often with ground poles |
For sites far from Dubai and Abu Dhabi, travel is confirmed in the quotation before we book the visit. Whatever the location, every Starlink roof mount installation gets the same survey, secure fixing, sealed cable entry and speed test before handover, so the dish keeps working through summer heat, dust and wind.
Book a Starlink Roof Mount Installation
Send us a few photos of your roof and the area around it on WhatsApp at 058 582 3467. We will recommend the right mount and book your Starlink roof mount installation. Buy your kit from the official Starlink website before the visit.